Finally got a chance to brew up a kit this weekend that I’ve had looking at me from the sidelines for a little while.
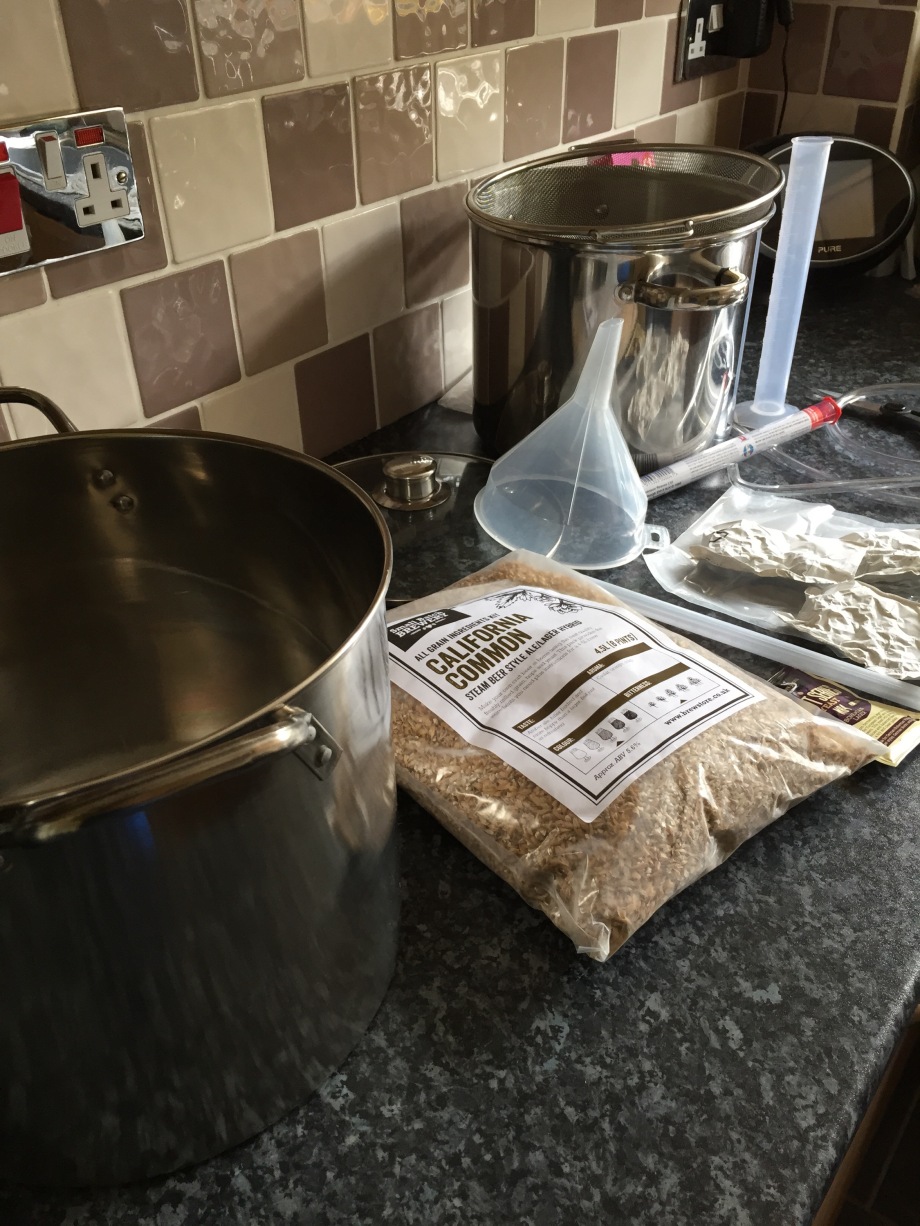
It’s a small batch,1 gallon or about 4litres (if you’re that way inclined), from brewstore.co.uk that should make a California Common style beer.
http://www.brewstore.co.uk/california-common-4-5l-all-grain-beer-kit
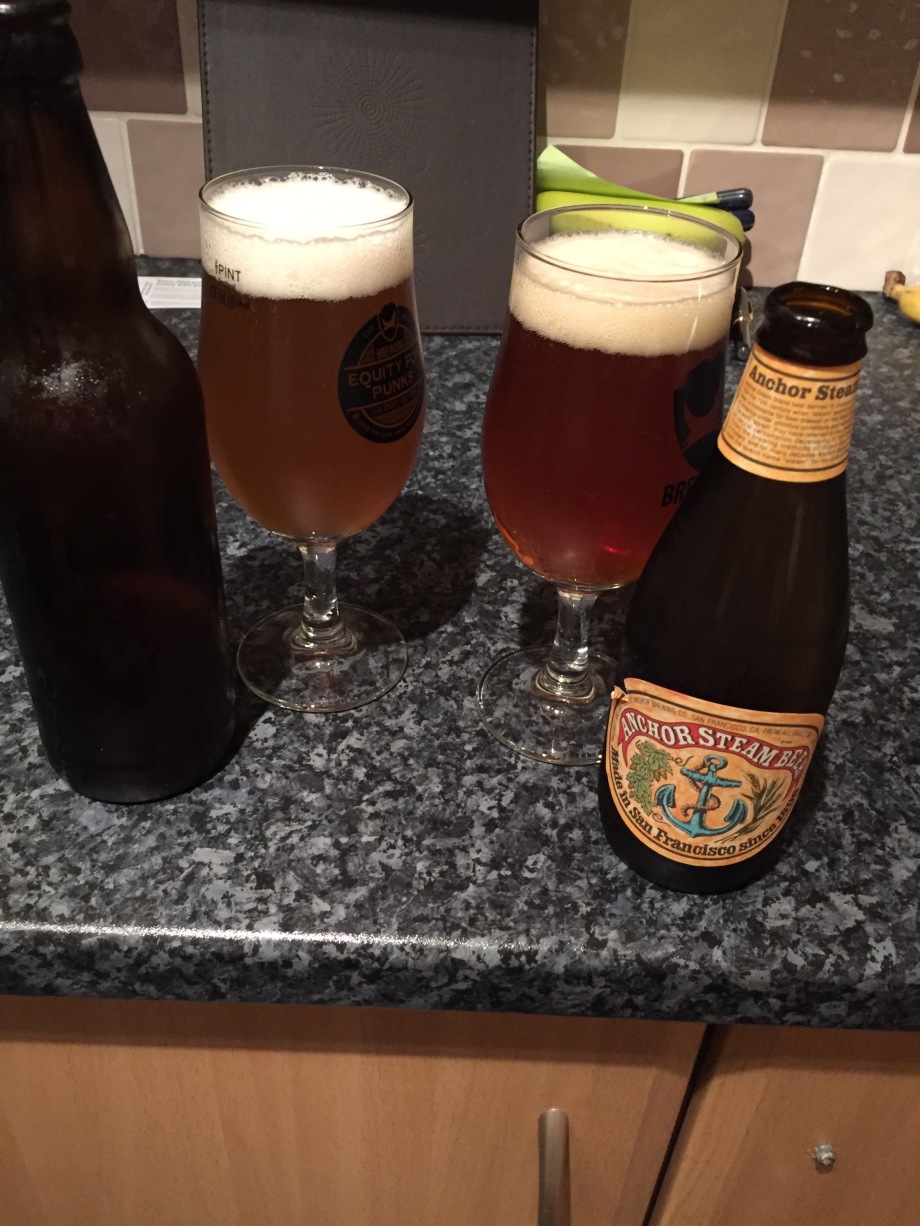
The style is a lively beer,brewed with lager yeasts,so produces a kind of hybrid between beer and lager,probably better known these days as “steam beer” and the style best illustrated with Anchor Brewings’ popular,and now increasingly easy to get hold of,Steam Beer .
Here’s the basic kit needed,well,what I’ve got anyway

So first of all,and probably the most important step is to sterilise everything that will come into contact with your beer…there’s loads of sterilising products on the market,some aimed specifically at the brewing market,but I just use the stuff you can get in the supermarkets for baby equipment sterilising which does the job. Once that’s all done,next step is to get the water on (around 4L for this particular kit) and to a temp. of 74c in one of the pots.
Next,slowly add the grains,stirring as you do
Set your timer for an hour,turn the heat off and put the lid on. The temperature will fall and you need to keep checking to keep it around 64c so a stir every 10mins or so whilst checking temp. should see you right.
While waiting get more water into your other pot and get it to a temp if 78c (sparging water)
After an hour,all the sugars (or as much as your likely to get out) should have been released,and your on to the next process…sparging
The Sparge.
This is the part where water is passed over the grains to collect as much of the sugary liquid (known as Wort) that will turn into your finished beer.
Here’s where a 3rd pot could come in handy to hold the wort,but I just transfer the water from the 2nd pot into saucepans and use the 2nd pot as a receiver. Place a large sieve on top of your empty pot and carefully poor the grains and liquid into it,then poor the sparging water slowly and evenly over it as well. When it all seeped through transfer the sieve containing the grains on to the top of the second pot and carefully pour the liquid you’ve obtained over the the grains again,making sure you cover all the grains as you want to get as much of the sugars from the grains into the liquid,once this is done,return the pot containing the Wort to the heat and bring to the boil.
Wort
Once the liquid has reached boiling point slightly reduce the heat so you get a nice gentl bubbling or a “rolling boil” ,set your timer for 60mins and now you can start adding the hops.
For this particular brew,hops are added in three stages:-
0 mins
50 mins
55mins
Which refers to the time into the boil they need to be added

So,1st hops go in at the start of the rolling boil,then at 50mins the next lot and at 55 the final batch.


There’s a reason for the addition of hops at different times but maybe that’s for another post.
When you’ve reached 60 mins,turn the heat off and we now need to cool the liquid to 20c,so as I haven’t got a sophisticated cooling system or wort chiller I just prepare a sink full of ice from the freezer and place my pot with a lid on in there..it normally takes about 30 mins to get to the right temp. It’s really important to get to this low temp as in the next step we add the yeast and if the liquid is too hot the yeast will die and not ferment the beer.

When it’s at the correct temp. I check the gravity of the wort (known as original gravity or OG) by testing a small sample with a hydrometer (this has come out as 1040) and then we are ready for the final stage of Brewday.

Transferring to fermentation vessel.
For this I use a sieve with some muslin cloth over it,over a funnel and into my glass demijohn. Pour the cooled wort through it until you have enough to fill to the 1 gallon mark on the side of the jar,once this is done you just need to add the yeast (called pitching),put the air lock/bung (containing a little sterilising solution) on the top and place the jar somewhere that’s dark and a steady,cooling temperature and that’s it… Brewday is complete!

It’s just a matter of waiting 10-14 days for fermentation to stop then bottling can be done.
I’m sure there are probably better ways and better equipment to use but this is all you basically need to brew decent,and more importantly drinkable,beer at home.
Try it…it’s not as difficult as you may have thought!?..and at the very least it may you give you an insight as to what accomplished brewers go through to bring us the drink we all love
UPDATE
This is what mine looks like the day after…bubbling away nicely with a healthy looking crust on the top (technical term : Krausen)
Tasting update
2 weeks in the bottle and couldn’t wait to give it a sample,turns out it’s very drinkable,and taste/style wise almost what I was expecting too…bonus!

 Lighter in colour than I was expecting and not quite as malty as Anchor but in a blind tasting 2 people that I gave a taste to actually preferred mine to the original so I’ll take that!!!
Personally I think a week or two more in the bottle will improve it,but I’m marking this down as another homebrew success


